FB Scanners- Large format flatbed scanner for document scanning accuracy
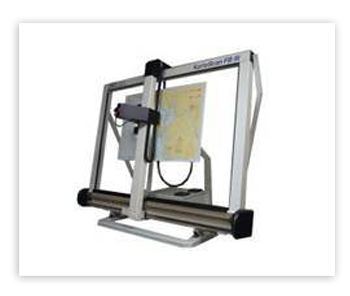
The large format flatbed scanner has been made for scanning of all kind of materials like paper, Mylar, templates up to 1 inch thickness, positive and negative films, folded and fragile material. It has a wide range of application areas like in the aero industry, mapping, telecommunication and publishing industry.
FB5 Scanner
FB5 GT
The scanner table is of clear glass. Scanning surface is 1070 mm x 1600 mm (~ 43 inches x 63 inches) and maximum optical resolution up to 1200 DPI! The FB5 GT large format flatbed scanner has a glass table and a cover glass on top of it. Thin materials to be scanned like paper, Mylar, film are placed between these. Thicker resources like metal templates are scanned without the top glass plate. The scanner has two light sources, front light and back light. The front light is used for scanning non transparent material like paper. The back light is used for transparent material like films and negatives.

FB5 VT
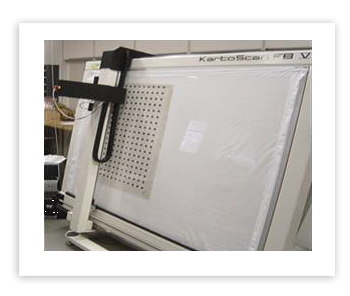
The scanning table is a vacuum table. Scanning surface is 1070 mm x 1600 mm (~ 43 inches x 63 inches) and maximum optical resolution up to 1200 DPI! This scanner is prepared to handle folded, old and fragile materials. The FB5 VT large format flatbed scanner is well-appointed with a vacuum table. The vacuum table is linked to a powerful pump that can be switched on and off by the operator. The material is sucked to the table. The vacuum will sensibly flatten the material. If the material is mainly bulky a Plexiglas plate can be placed on top of the material to create the vacuum effect better.

VLS Scanner
VLS flatbed scanner
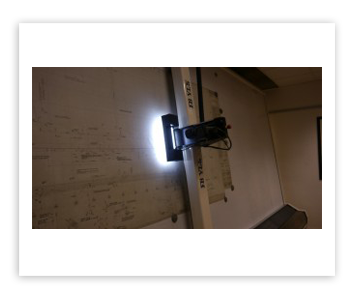
This scanner VLS was initially prepared for precisely scanning engineering drawings for the airplane manufacturing industry. This is the largest flatbed scanner ever created. The scanning surface is a vacuum table. The table is distinguished into 12 separate sections. The vacuum of the sections can be turned on/off subject on the size of the material. The camera is mounted on the vertical beam/travers and moves up and down along this. The traverse moves horizontally along the +5 meter long ball screw. Innovative calibration methods are executed regularity to secure an assured precision of 0,005 inch for any point on the scanning surface. The system is well-appointed with a color camera. Usually grey scale or binary scanning is achieved on the engineering drawings.

